
Self-Driving Cars — 7 Steps to deploy a service
Self-Driving Cars are on the way to revolutionize our transportation system. Autonomous robots have been developed for the last 4 decades by hundreds of companies all around the world.
From taxi transportation to autonomous shuttle…
From food delivery to autonomous lawn mower.
We are about to experience a revolution.
I had the chance to experience 3 self-driving car launches.
I noticed they all shared common steps.
These 7 steps can turn a self-driving car project into a reality
Out of the 3 self-driving cars, one is currently running in France and delivering passengers every day.
These steps are specific to the startup condition I was in.
A team of 10–20 engineers with no manufacturing skills, a limited budget, and short deadlines.
This story is a series of 2! Find the story about project management in self-driving vehicles here!
📩Before we start, I invite you to join my Daily Emails and download my Self-Driving Car Engineer MindMap where you'll get the necessary things to become a Computer Vision & Self-Driving Car Engineer.
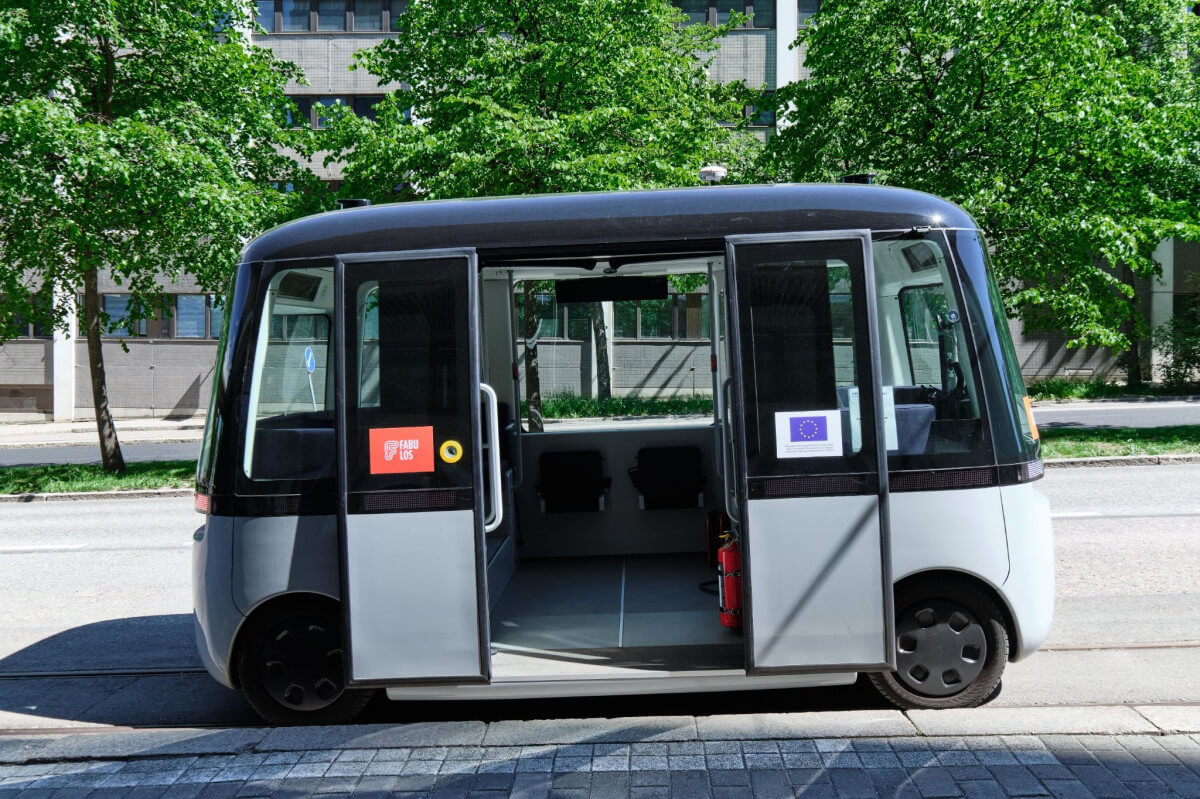
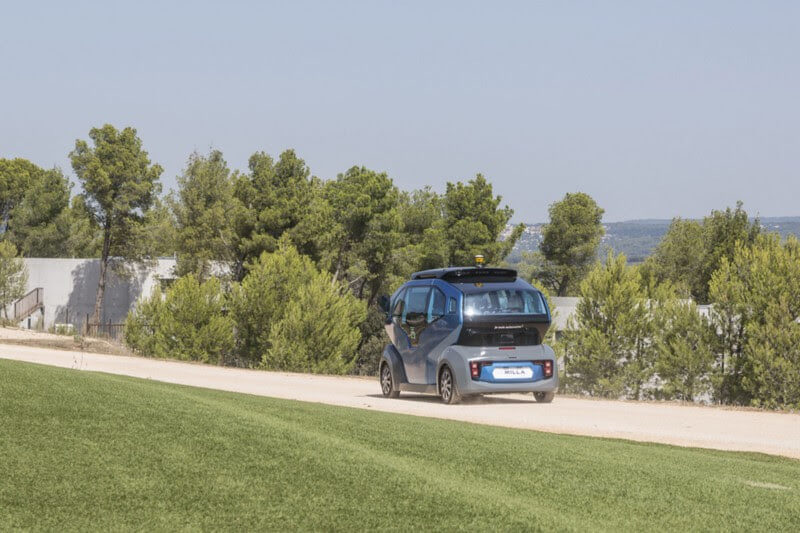
Step 0 — Context: an Autonomous Shuttle on a School Campus
Let’s say we get an order from a client for a specific autonomous system.
Let this system be a self-driving shuttle that can take up to 6 passengers on a closed area, for example a private school campus.
Let this shuttle be allowed to drive up to 30 km/h.
Why a school campus?
Students often walk a lot on these campuses, especially in America. There is rarely a solution provided to the students other than walking, or waiting for a school bus. An autonomous system can be really helpful there, as it can be automated, and in sufficient quantities.
A school can naturally be a client for a shuttle company.
Step 1 — Project Definition
Step 1 is about planning the project.
There are two types of questions we need to answer:
- General Self-Driving Car questions
- Specific project questions
The general questions involve the definition of the different participants, the overall budget, and the definition of the hardware.
- Who will create the car?
- Where will we buy the sensors?
- What computer will we use? On what OS?
- Who will code what algorithm?
The specific questions are the consequences of Step 0.
- If the area is closed, should we need a traffic light detector?
- If the car can drive at 30 km/h, should the passengers be seated or standing up?
- Should they wear a seatbelt?
Step 1 is the entire definition of the project. Every aspect must be included. It should take several days, especially if the company is doing it for the first time.
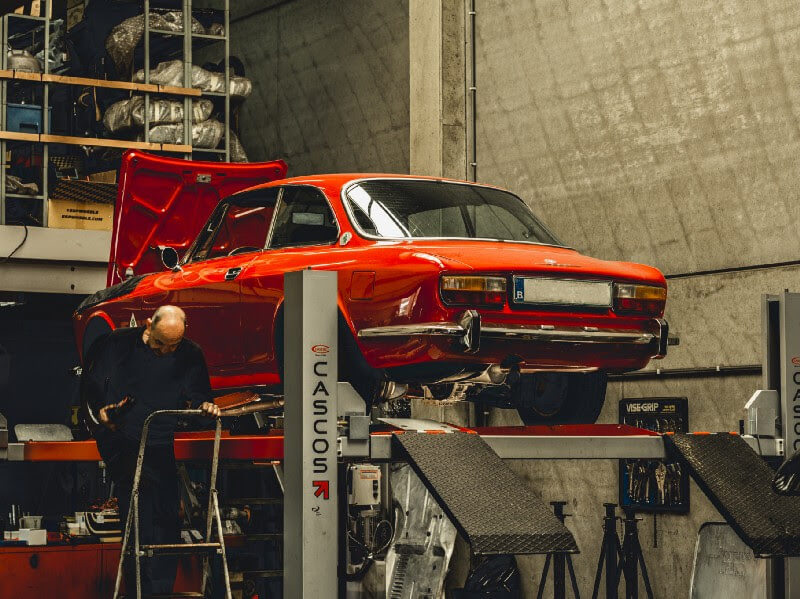
Step 2 — Robotization and hardware
Once we have a clear definition of the project, we can start building the robot.
This part includes the prototype of the car, as well as the different sensors involved, and the computer.
One big thing we have to worry about is the type of car we’re building.
For a 20 people startup, it’s much harder to build an autonomous shuttle from scratch than to take an existing electric car and turn it into a robot car.
If the car is already existing, electric, and Drive-By-Wire; it’s possible to plug a computer into it.
In our case, we’ll need to build the car from scratch.
It means we have to consider:
- The chassis of the vehicle
- The battery, GPIO, and other general components of the robot
- The seats
- The materials used
- …
As you imagine, it is a complete profession to create a car from nothing.
It requires electrical experts and a small factory or arranged garage.
If we want to ever see step 3, we’ll have to pay a company to do this.
The company will handle all the “hardware tasks” including the car conception and all the parts in yellow on the following image.
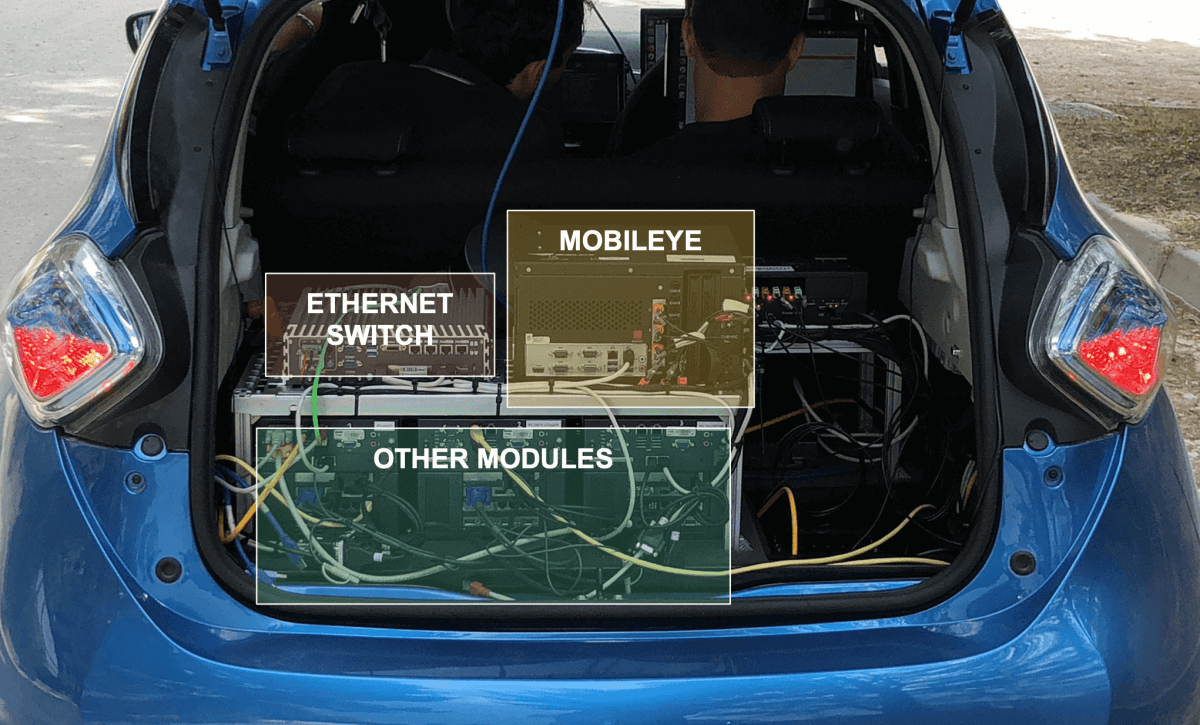
What is the yellow part?
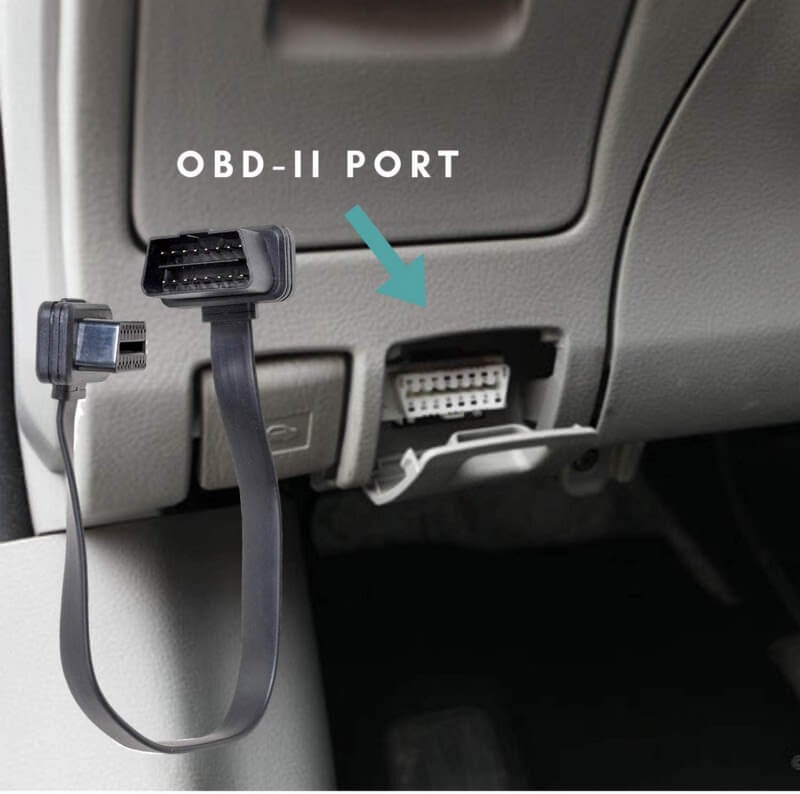
Mainly the computer, sensors, and connections between the car and the computer. If we want to activate a directional warning from the computer, we must plug it to the corresponding input in the car.
When selecting sensors, they must all match together.
The computer must be sufficiently up to date to handle the sensors’ programs, but it can’t be the latest version, or some sensors might not work on it yet…
This second step takes about a month, from the first meeting to the initial tests and the delivery.
Step 3 — Test the robot
A month later, the robotization company delivers the final product.
We must be able to drive it manually and to have an autonomous override.
If the algorithms we’ll include in the car are doing wrong things, a safety driver will manually break the car. We must find and hire a safety driver to be with the car all the time.
The test cases include:
- Being able to drive manually
- Being able to break electronically, manually, and remotely
- Being able to go into autonomous mode and drive autonomously
- Being able to break and get out from autonomous mode at anytime
Other cases can be installed like:
- If a break command is received, how much break will there be?
- If an acceleration command is received, how much acceleration will there be?
The system must react in a way that will be safe and smooth for the passengers.
The tests are done on a test track that has the same conditions as the end road.
Step 4 — Coding the car
This is the heart of the project: coding a self-driving car.
What happened during the robotization month? Engineers were developing algorithms.
How?
The first thing that can help a lot is to have a prototype car.
A prototype car is a car that has the exact sensor conditions as the final car, but that is not meant to drive autonomously.
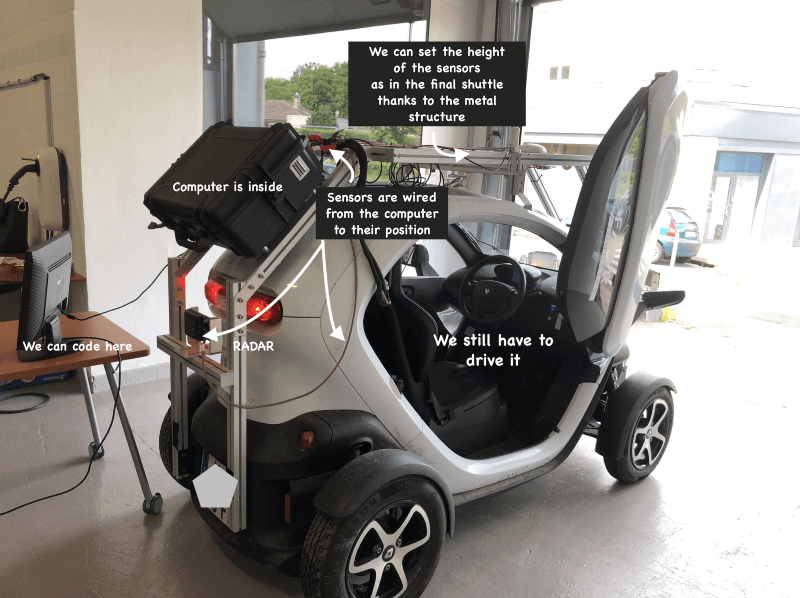
Having this type of car is excellent for data recording.
We can drive to the private campus, analyze the situation, record GPS data to see if the area is clear, do one or two laps and record Perception data…
The only thing we’ll need is every sensor, and every computer, duplicated.
The LiDARs, cameras, …, are being installed on the end robot.
We thus need a duplicate of each to be able to use it during the robotization month.
Later, we can replay the scenario from our laptops without the need to be on the track.
We can code the algorithms from the office, until the robot is delivered.
Coding can take from a weekend to several months, depending on the number of cases we want to cover.
Once we have the robot, we can start to integrate our algorithms.
Step 5 — Adapting the algorithms
If we reach Step 5, it means that we have a working robot, and some code integrated.
The thing is… the code works for a general self-driving car.
But we know that each situation is specific.
A self-driving car in Paris might not work in San Francisco, or even in a nearby city.
Therefore we need to adapt our algorithms.
In particular, the localization is very specific to the test track. The sensors also must be used to create a map of the environment.
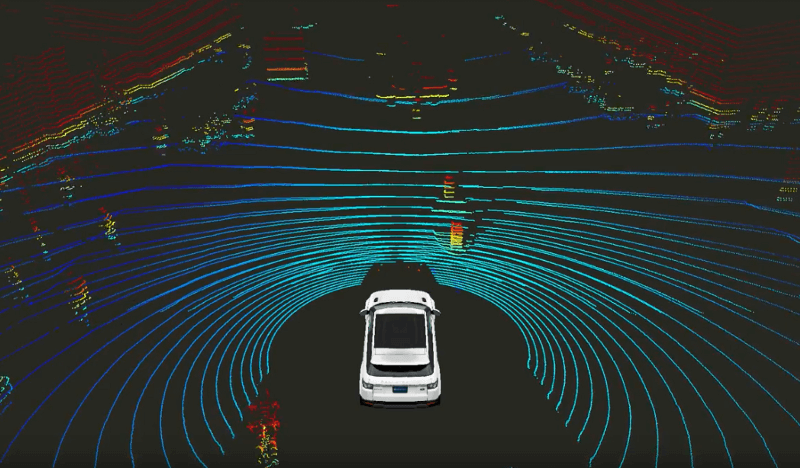
One sensor, in particular, is very suited for that task: The LiDAR
The LiDAR generates point clouds of the environment.
If precise enough, it can create a full map of the campus.
The next big thing that must be adapted is the decision-making process.
Decision-making is a step of planning that chooses the next action to take.
It is 100% dependent on the environment.
Starting from an initial location, like a bus stop, we can create a scenario.
Here, we can also decide if we know how to overtake a slow vehicle, or how to yield.
Adapting the code is mandatory, and can take much longer than developing the code itself.
Step 6 — Panel testing
Step 6… we’re reaching the end!
Our car is working, and adapted to the environment!
Can we start taking passengers? Yes, but not just any passenger.
Here, we’ll divide our population into two categories:
- The test panel
- Anybody else
Before testing the car with anybody, we must ask a panel of about 20–40 people to be an early adopter.
These people are usually campus students, who accept taking “the risk” of being the firsts in the car. We’ll set up an app on their phones, so they can call the self-driving car whenever they want. Obviously, the car has a safety driver who can brake the car at any time.
The purpose of the panel is to give feedback on the experience and to help improve the errors.
These people will test the car every day for about a month, and the feedback will be used during this month to improve the experience.
Meanwhile, the engineers don’t code that much.
They wait for feedback and develop next features. They can also be inside the car and help with onboarding.
For days, the car will do campus track laps over and over again.
Step 7 — Demo & Large Scale testing
Finally, the service is working!
Now, we can ask the second group to be a user.
The time for the demo is set… and it’s finally time to unveil the experience to the rest of the campus.
If you don’t know what a demo looks like, read this and this .
This step is the outcome of months of hard work.
These 7 steps are taken from my experience in 3 self-driving car launches. Some companies may not share these as they might have different budgets or conditions. For example, robotization can be replaced with adapting an existing car. Software development can be replaced with software purchase from other companies or even consulting.
It doesn’t take that long to code self-driving cars. People usually expect years of development. Some engineers can code a self-driving car that performs 70–80% of the cases in a week. To reach 90% use-cases coverage, it can take a month, or a few months.
The hard part in self-driving cars is to build a car that can drive in most cases, and thus reach 99–100%.
If you want to know more about how to manage a Self-Driving Cars project, check my article here!
And if you want to go further, I have created a MindMap that will explain to you the main parts in Self-Driving Cars.

